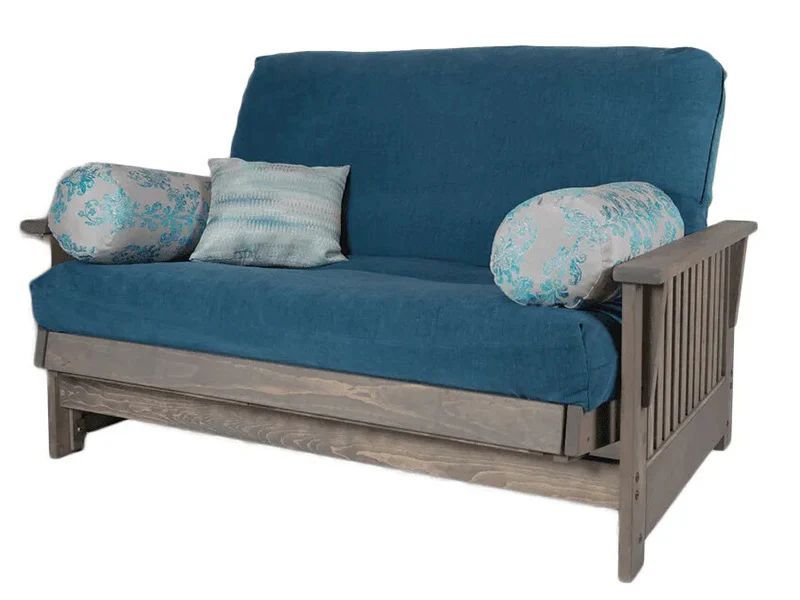
Futon Repair - Basic Improvements and Touch-Ups
A high-quality futon can last for many years. However, you may accidentally damage your frame or futon mattress, causing superficial scratches, gouges, stains or even rips and tears. Here are some futon repair techniques that you can use to restore your futon to its previous glory.
- Light scratches in wood
- Deeper scratches in wood
- Gouges in wood
- White spots from spills or glass rings
- Rip in a futon mattress
If your old futon is beyond repair, contact us for a wide selection of high-quality, Canadian made futons that will last.
Futon Repair
The following video will go over the steps to follow to repair various types of scratches on wood. You can continue reading below to get the complete steps.
1. Light scratches in wood:
If you discover a light scratch in the top finish layer of your futon frame, take the following steps to remove it.
Step 1:
Get rid of any excess surface dirt or dust by wiping the area around the scratch with a clean cloth.
Step 2:
Use a scratch remover such as Trade Secret (purchase one that is similar to the type of wood you have i.e. light or dark). Apply a small amount of the product to a cloth and wipe it on the surface of the area that is scratched.
Step 3:
Buff the surface using light to medium pressure until the product has completely filled the scratch.
Step 4:
Let the area completely dry and then apply a light coat of finish (polyurethane or lacquer) over the area.
2. Deeper scratches in wood:
If the scratch is deeper into the surface but has not actually gone into the wood itself, the following steps will help you repair it.
Step 1:
Using
mineral spirits, clean the surface around the scratch to remove any residue or wax from the wood.
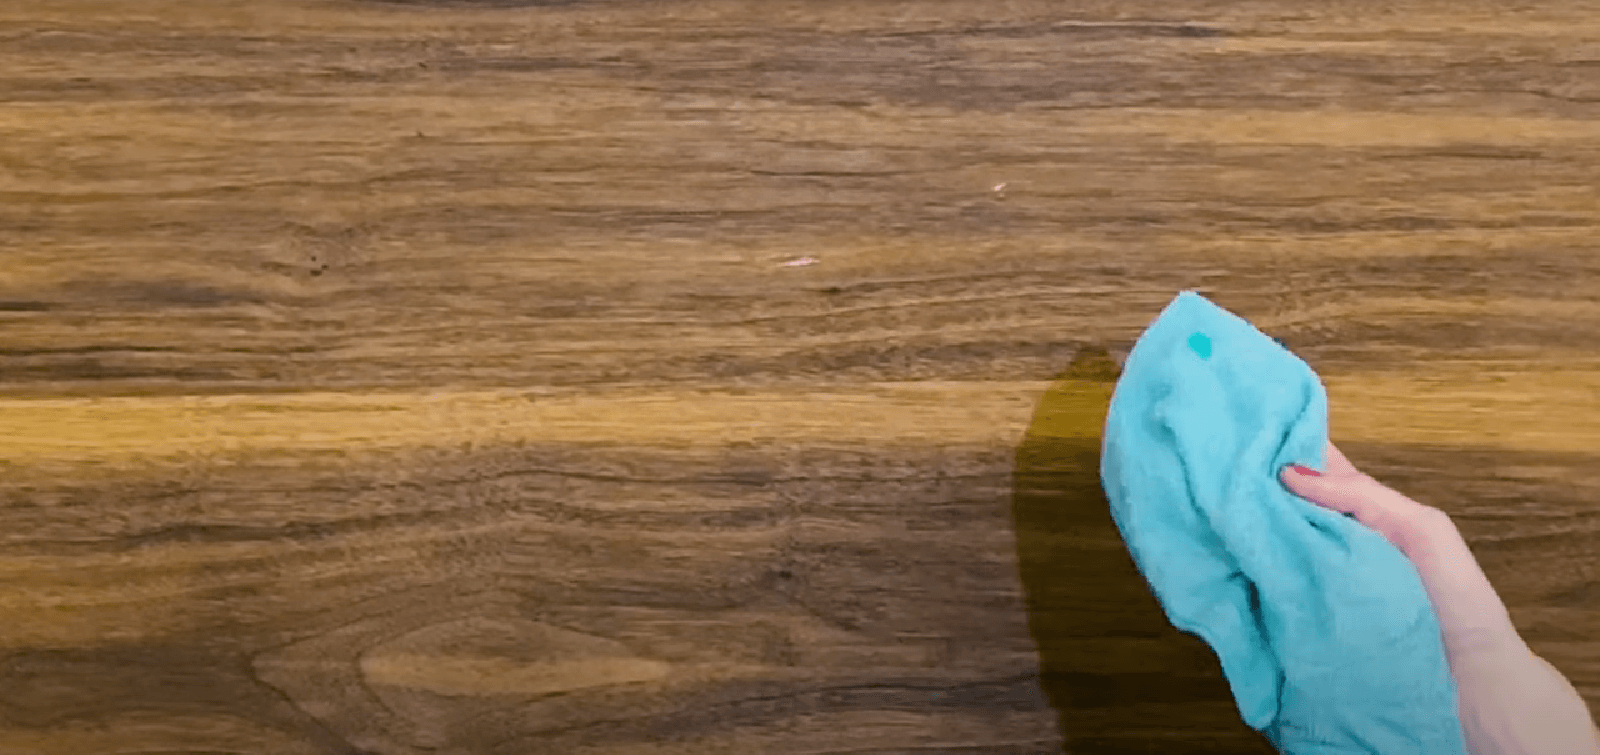
Futon repair: Lightly clean around the scratch with mineral spirits
Step 2:
Lightly sand the area with 120-grit sandpaper. You want to remove the finish layer. This will allow the stain to soak into the pores of the wood.
Step 3:
Carefully clean the area again with mineral spirits to remove any dust from sanding.
Step 4:
Using a clean rag, apply a small amount of stain that matches the colour of the original stain, and rub it on the surface of the prepared area. Using another clean rag, remove any excess stain so you can take a better look at the colour. If it is too light, apply some more stain to the area.
You don't have to wait for the first application of stain to dry before you add a second coat. Simply make sure you wipe off the excess stain between your coats. Continue applying coats of stain until the colour matches the rest of your frame.
Step 5:
Let the stain dry for about 4 hours or for as long as the instructions on your stain recommends. When the stain is completely dry, apply a coat of finish (polyurethane or lacquer).
3. Gouges in wood:
If the scratch is much deeper and has cut through the top finish layer and penetrated to the wood below, then you will know because the area will have a slightly lighter colour. Here's how to repair this type of damage.
Step 1:
Using a piece of
steel wool, buff the scratch to flatten out the points that are higher in the damaged area.
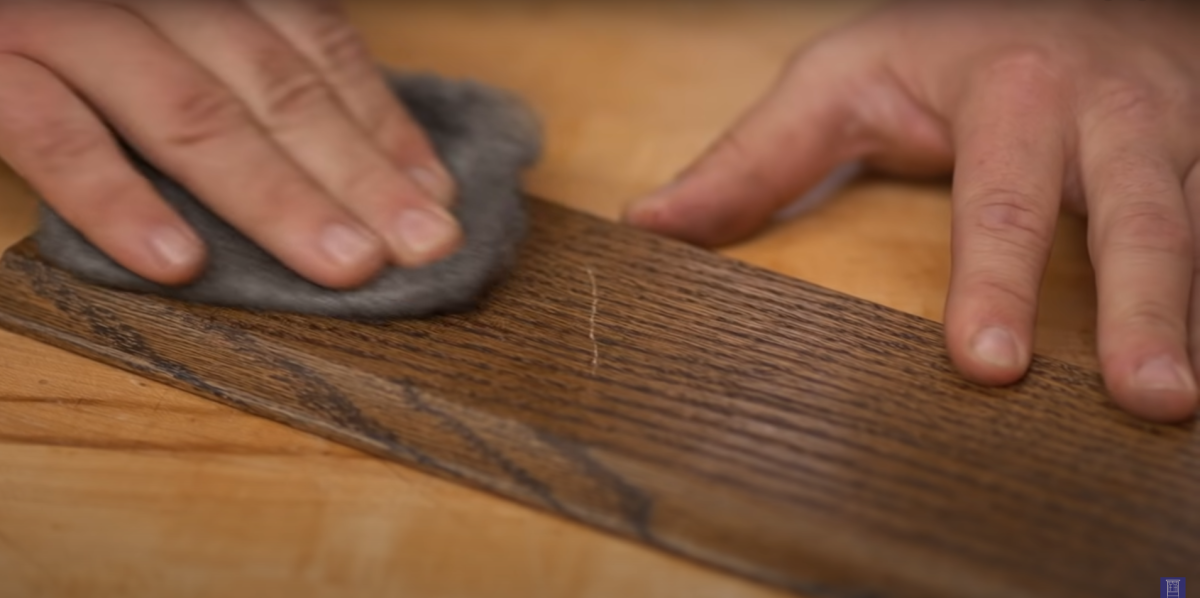
Use steel wool to flatten the raised edges - Image source: Youtube video This Old House
Step 2:
Using mineral oil on a clean cloth, wipe off any contaminants and dust from the damaged area.
Step 3:
Using a stain repair pen that matches the colour of your wood, drag the tip along the gouge until you achieve the same colour. You may have to use a combination of different coloured pens to get the right match.
Step 4:
Select a repair crayon that is the closest match to your wood. Melt the crayon using a wand-style lighter and let the liquid wax drip into the area of the gouge. The following video will give you a better idea about how to effectively use stain repair pens and crayons.
Step 5:
Once the wax has cooled, scrape away the excess with a plastic razor. Using your stain pens again, touch up the area to get it to match the grain pattern of the wood as close as possible. You can do this by carefully dragging your pen across the wax, following the grain of the wood and trying to match up the darker areas.
4. White spots from spills or glass rings
Here are some great futon repair tips if you have white spots from spills or rings caused from the condensation of a drinking glass.
Technique #1:
Polish the surface where the spot is with a liquid furniture polish. Buff the surface firmly to remove the stain.
Technique #2:
Using denatured alcohol, lightly rub the damaged surface. Be careful not to use too much alcohol as this could damage the finish.
Technique #3:
Purchase a gentle abrasive from a home-supply store and rub it over the stained area. Wipe the surface with a clean cloth. If the stain is really stubborn, you may need to do several applications. Once the stain is gone, wax and polish the surface.
5. How to fix a rip in a futon mattress
Accidents do happen and you may get a rip in your futon mattress. If the futon is still in good shape and you don't want to replace it just yet, you may be able to fix the rip. If it is in a noticeable spot, you can sew it up and then purchase a futon cover so that no one will even notice that it was ever ripped. Not only will a futon cover hide the rip, but it will also give your futon a fresh, new look.
If the rip is in a removable futon cover, you can either sew it up by hand or by machine. If the rip is in the actual mattress, then you will need to do the futon repair by hand. Hand stitching will give you the cleanest look, especially if you use a blind stitch also known as a ladder, slip, or hiddent stitch. The following video will show you how to do this type of stitch. You can also read the written out steps below.
Step 1:
Choose a thread that closely matches the colour of the ripped material and thread you needle. Make a double knot at the end of the thread to secure it.
Step 2:
Insert your needle a the one end of the rip underneath your fabric and pull your needle up through the fabric until the knot catches. Make a small stitch to secure the end.
Step 3:
Move your needle to the other side of the rip and make a small vertical stitch. The smaller you make these stitches the better, as they will be less noticeable when you are finished.
Step 4:
Move your needle back to the original side of the rip and make a small vertical stitch on this side.
Step 5:
Continue this back and forth process until you work your way all the way along the length of the tear. Taper off your last stitches so that they are even closer together.
Step 6:
Carefully pull the thread when you come to the end of the rip and your stitches will disappear. Tie off your thread with a knot.
For the Best Quality and Best Priced Futons, Choose The Futon Shop
If you are looking for the best quality futons at the best price, contact The Futon Shop. At The Futon Shop. We know how amazing our futons are because we are both the manufacturer and the retailer! Since 1984, we have been manufacturing our line of high-quality futons in a wide variety of styles and sizes. If you prefer, we can also make a custom size to meet your exact requirements.
All of our futons are crafted right here in Canada at our Burlington Ontario location, so you can be sure that you are getting a quality product that will last. We are the largest futon manufacturer in Canada and we even build our own line of high-quality futon mattresses. You can come to see our incredible lineup at our Burlington location or you can shop for all of our products online. We ship all across Canada.
Looking for a small futon? Here are a few options to choose from. Click here to see our full gallery.
The Futon Shop Burlington Showroom Business Hours
Tuesday - Friday: 10:00am - 4:00pm | Saturday: 10:00am - 3:00pm Sunday - Monday: Closed
5205 Harvester Rd, Burlington, L7L, ON, Canada
"We purchased from here instead of getting something shipped from Amazon because we were hoping for better quality & better customer service, not to mention supporting local, and we were not disappointed. Everyone we spoke with was super kind & helpful, our order was ready quickly and they fully loaded it into our vehicle, and when we had a slight issue with our order they were extremely quick to resolve it. The futon looks great and the mattress is really comfy. We did go with the tahoe pine frame which is not the best quality wood, but that’s to be expected in our price range - opt for better if you can afford it. Overall, worth the extra drive to Burlington (or the shipping cost if you get delivery)."
- Kathleen Pacheco